
Basic guide Glucovibes: Where do I start?
You want to change your life. You want to achieve your goals. You know that glucose control plays a significant role in this. At Glucovibes, we say: go for it. We’ll be with you every step of the way. As you embark on this journey, you might have many questions… here’s the answer: Basic Glucovibes guide: Where do I start?
To begin, you should know that the Glucovibes team is here to help with whatever you need. If you’ve decided to proceed and have received your kit, our team of nutritionists will get in touch with you right away. You’ll have direct contact with one of them to assess your progress and provide guidance. However, if you have any questions or need to discuss other topics with us, you can find us here, here, and here.
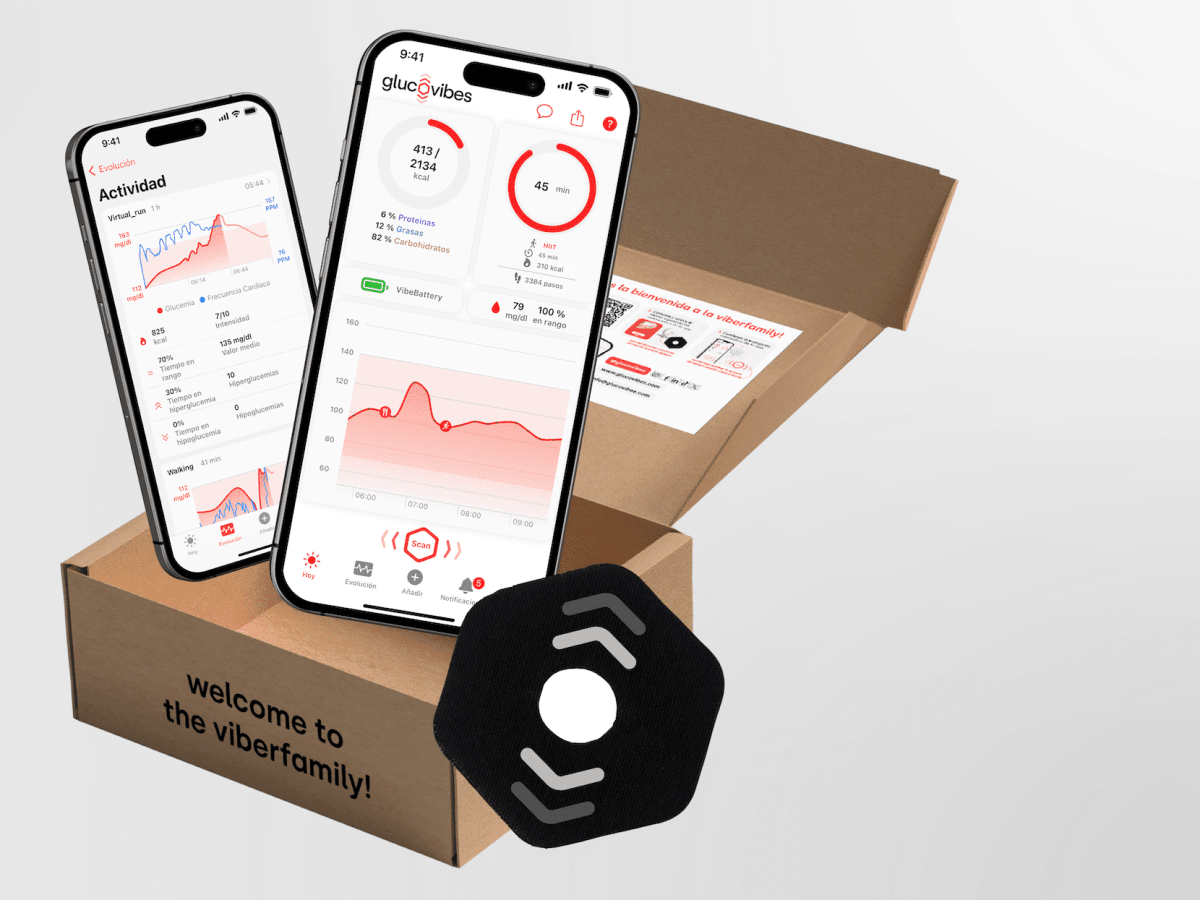
What is in the box?
The Glucovibes kit includes the necessary tools to monitor and control the impact of your nutrition on your metabolic system. This is done through tracking physiological variables such as pulse, blood glucose levels, and any other information you may provide to Glucovibes.
I have my kit. What should I do now?
Congratulations: you’re one step away from getting to know yourself much better and just a few steps from becoming your best version. Open the box, follow the instructions, and start the change. To do this, there are two essential steps:
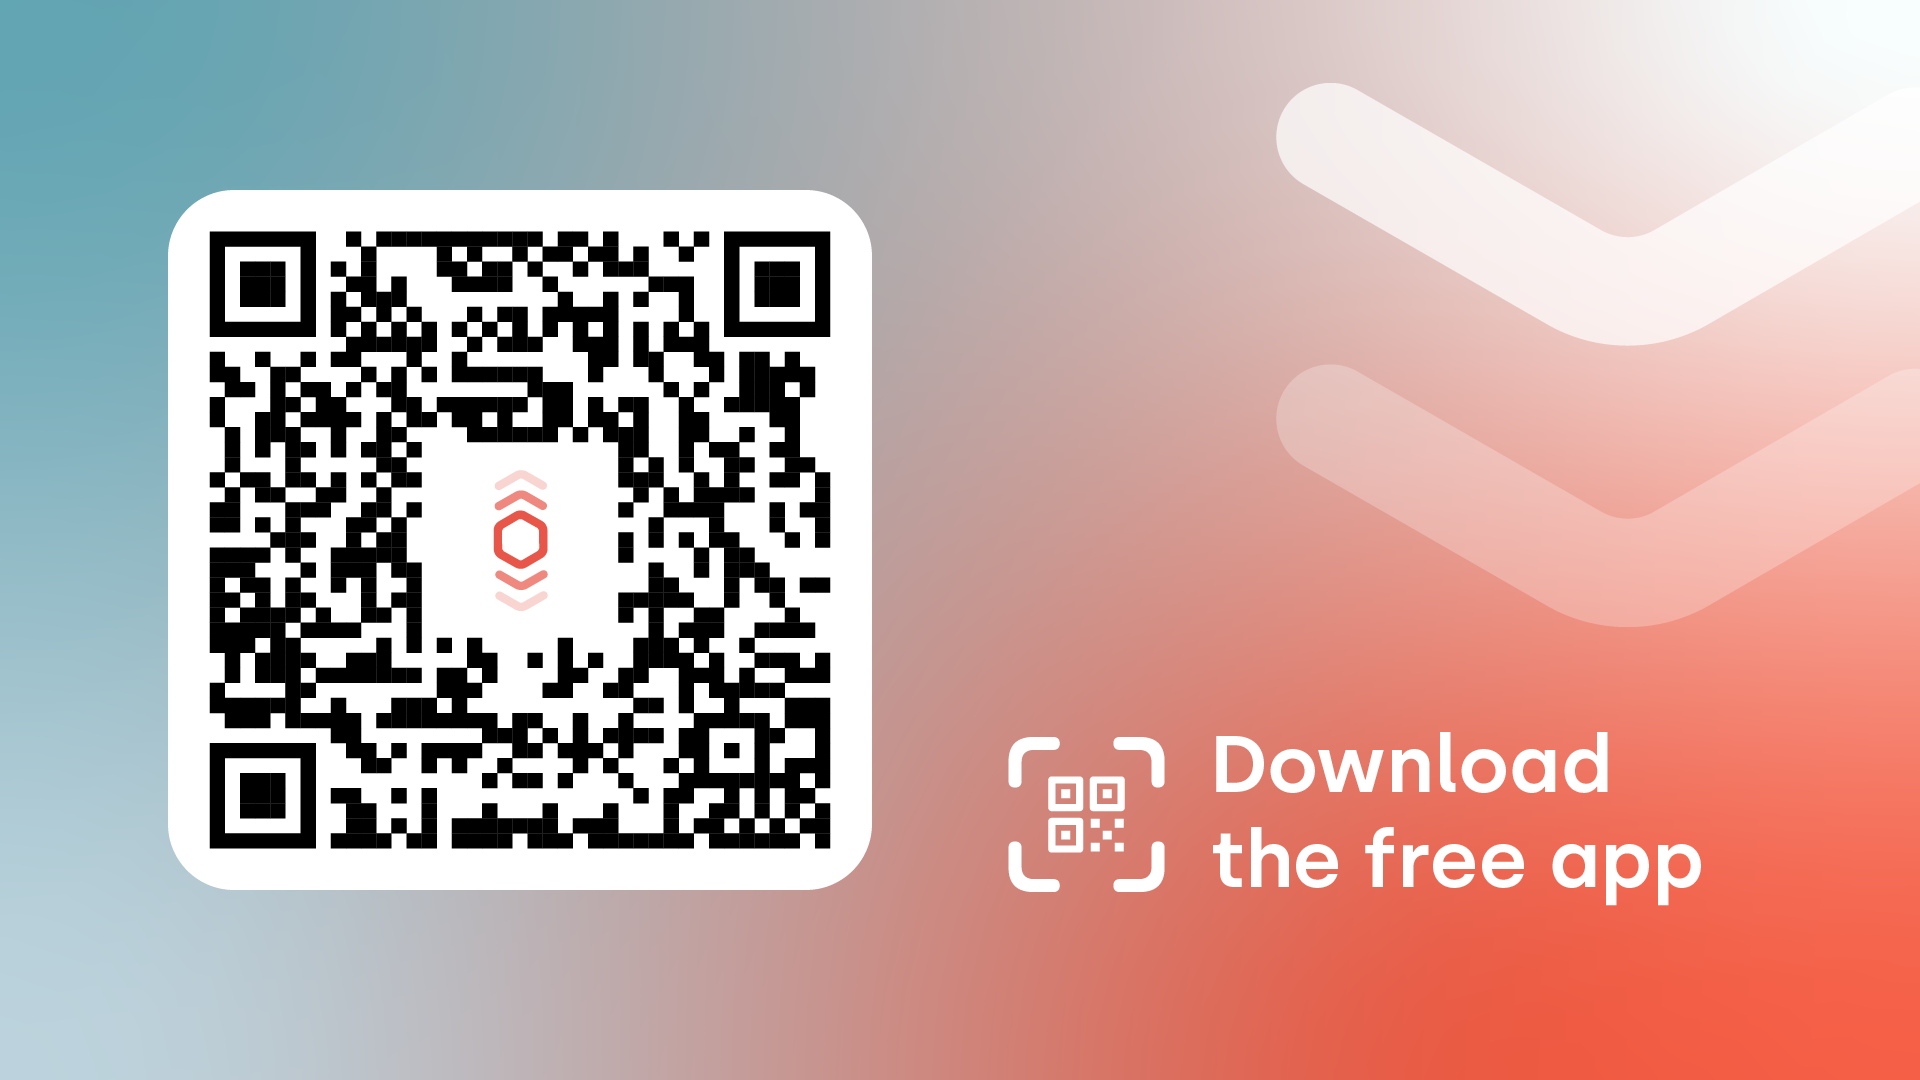
Download the Glucovibes app and log in to the platform at my.glucovibes.com.
Whether you have an iPhone or any other smartphone, the mobile app will be where you measure your glucose and enter the rest of the information needed for us to help you achieve your best version: daily and nightly questionnaires, nutrition, and physical activity (remember, we have integrations with Fitbit and Strava, so if you use any of these platforms, you won’t need to input the data manually).
Place your sensor and activate it
If you’re already familiar with this system, you won’t have any issues with its placement. The manufacturer includes instructions for you. It’s very easy to place and use and presents no complications. Still, we want to show you with a short video to ensure you have no doubts. (And in any case, the Glucovibes team is here for any questions you may have.)
- Open the applicator and sensor. The applicator has a screw cap; you’ll need to remove the protective cover from the sensor.
- Place the applicator on the sensor; you should hear a firm ‘click’.
- Raise the arm where you want to place the sensor by bending the elbow and moving it backward, as shown in the video.
- Press the applicator against the back of the arm. Apply pressure confidently; it doesn’t hurt and will be placed in a second.
- Place the protective patch around the sensor, covering part of the patch but leaving the center exposed.
- Open the Glucovibes app and activate your sensor.
- Fill out the questionnaires and scan yourself (at least) every 8 hours.
For the team behind Glucovibes technology—IT professionals, data experts, nutritionists, doctors—it’s crucial to understand all your parameters, including your glucose levels and others. To effectively monitor glucose, we recommend scanning at least every 8 hours (the sensor’s memory duration); scanning more frequently is even better. Regarding other parameters, it’s essential to complete the daily wellbeing questionnaires. By filling out both the morning and evening questionnaires, you help us understand your mood, sleep quality and duration, and other factors, which allows us to provide you with an accurate VibeBattery. Additionally, with our extensive and growing food database (enriched by user suggestions), selecting your intake foods will be very easy. Doing so is also crucial because, although there are other factors, diet is the primary variable affecting each person’s glucose curve.